How to Install a Safe at Home Without Hiring a Pro
Installing a home safe might seem like a job for a professional, but with the right tools and preparation, you can do it yourself—securely and safely. This guide is designed to walk you through a step-by-step DIY installation so your home safe is stable, hidden, and secure.
Whether you’ve purchased a compact unit for small spaces or a larger home high-security safe, the key to peace of mind is correct placement and anchoring.
Step 1: Choose the Right Location
The first step in installing a safe is selecting a discreet, secure spot that fits your daily needs. Ideal locations include:
-
Inside a closet
-
Under a bed or desk
-
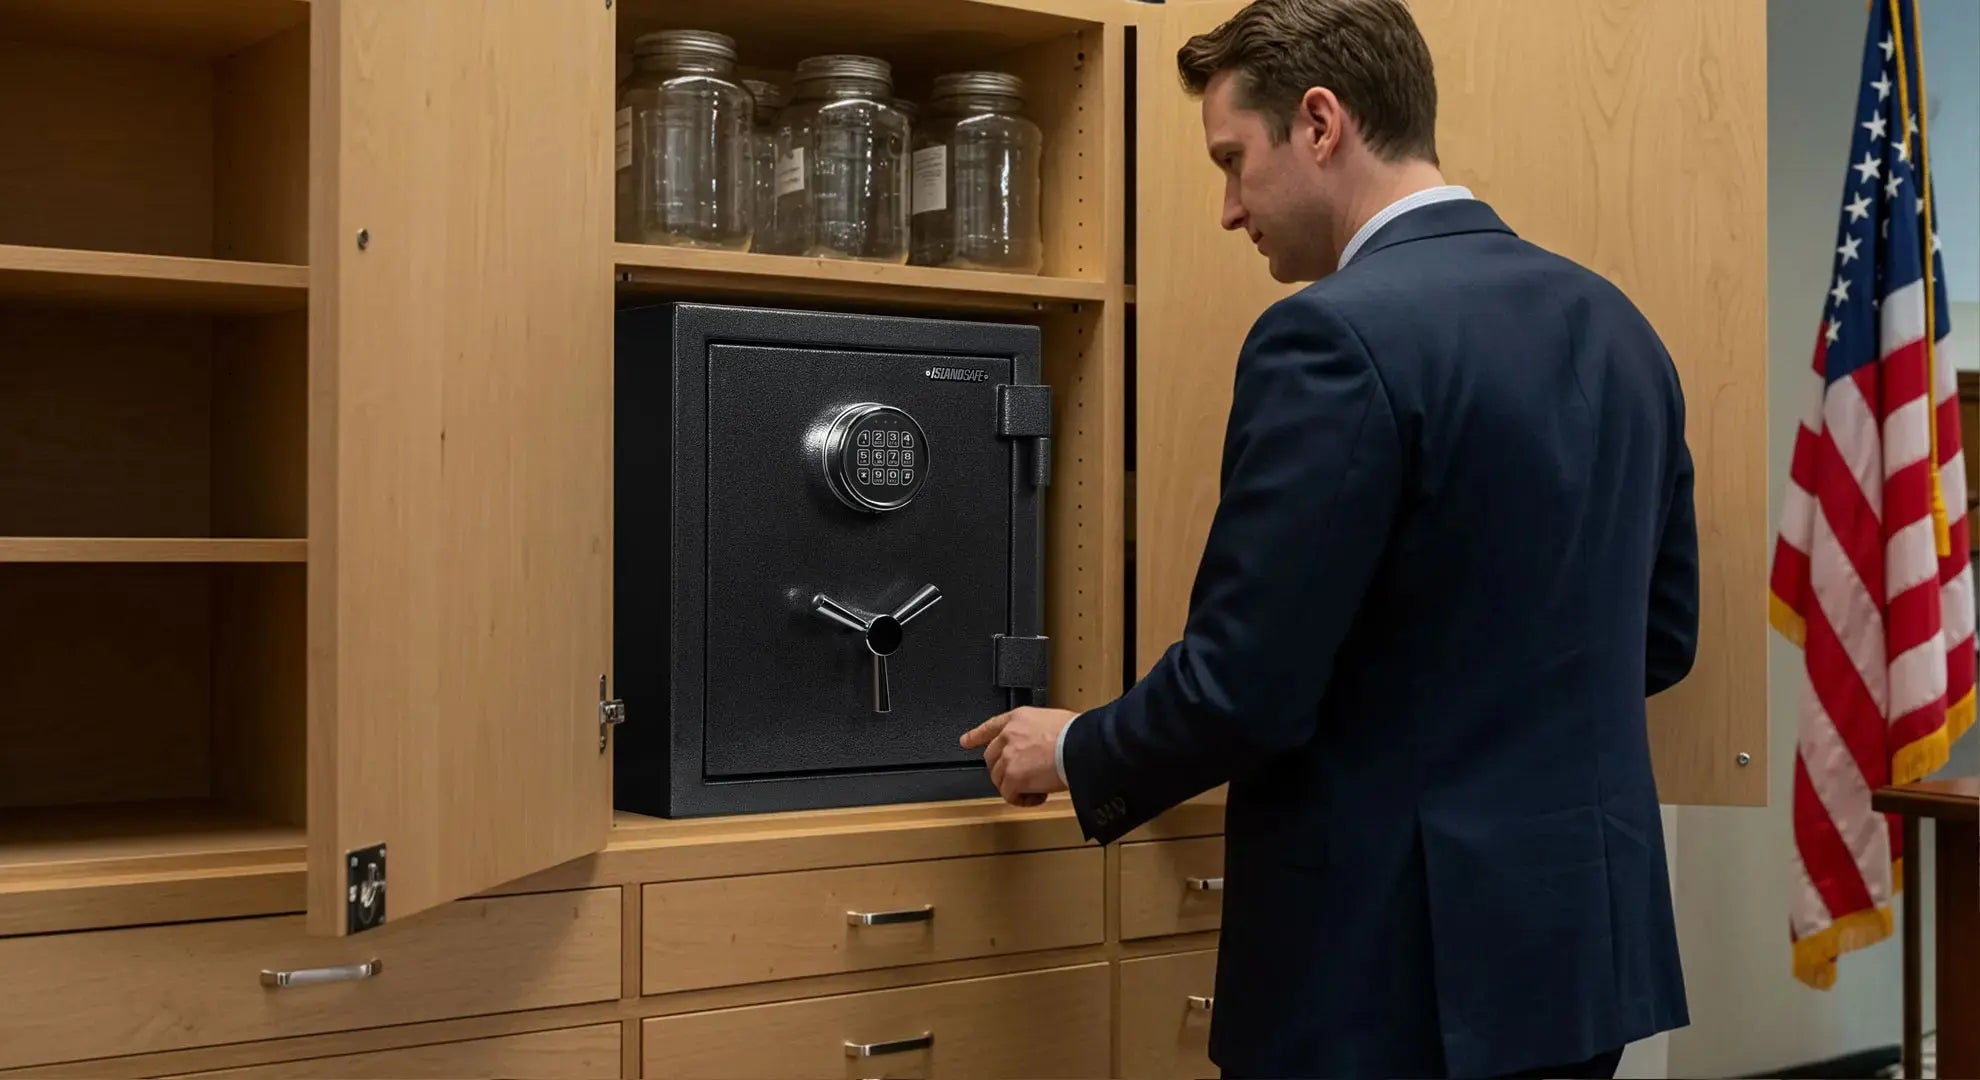
Inside a cabinet or built-in shelf

For extra security, avoid obvious areas like the master bedroom. Look for small spaces that are easy to access for you, but harder to discover for intruders.
Step 2: Pick a Surface That Supports Mounting
To install your safe securely, it must be anchored into a solid, stable surface. Most ISLANDSAFE safes come with pre-drilled mounting holes, making installation straightforward. Drilling is available on the bottom, back, or both. For specific mounting options, please refer to the ‘Drillings - Drilling Direction’ section in the specifications on each product page.
Best surfaces for mounting include:
-
Concrete floors or wood studs for maximum stability
-
Avoid drywall-only areas, as they lack structural support and are easy to penetrate
Tip: Use a stud finder to identify solid wood beams or concrete behind walls or floors before drilling. This ensures your safe stays secure and tamper-resistant over time.
Step 3: Gather the Tools You Need
For a smooth DIY installation, have these ready:
-
Power drill
-
Bolts or expansion screws (usually included with safes that feature pre-drilled mounting holes)
-
Screwdriver
-
Level
-
Wrench
-
Pencil or marker
Step 4: Mark and Drill
Once you’ve positioned the home safe:
-
Open the door and use a pencil to mark the location of the pre-drilled holes
-
Move the safe and drill pilot holes where marked
-
Realign the safe with the holes
-
Insert the bolts and tighten them using a wrench or screwdriver
Ensure the safe sits level and flush against the wall or floor for maximum stability.
Step 5: Test the Installation
Once mounted, test your safe:
-
Ensure the door opens and closes smoothly
-
Test the locking mechanism
-
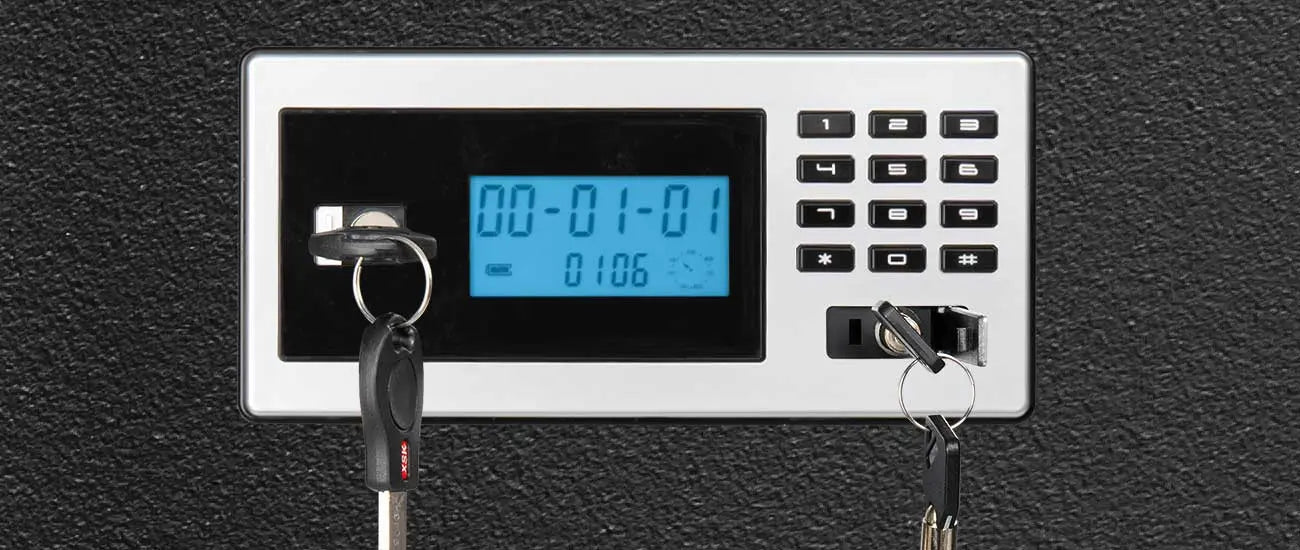
If applicable, confirm your emergency battery backup works
This is especially important for safes with biometric or keypad entry systems, like many home high-security safes offered by ISLANDSAFE.
Bonus Tips for Extra Security
-
Install your home safe in a low-traffic area to reduce visibility
-
Use furniture or décor to discreetly conceal it
-
Keep override keys in a separate secure location
ISLANDSAFE Models with Easy Installation
Looking for a model designed with DIY installation in mind? Here are three popular options from ISLANDSAFE that include mounting hardware:
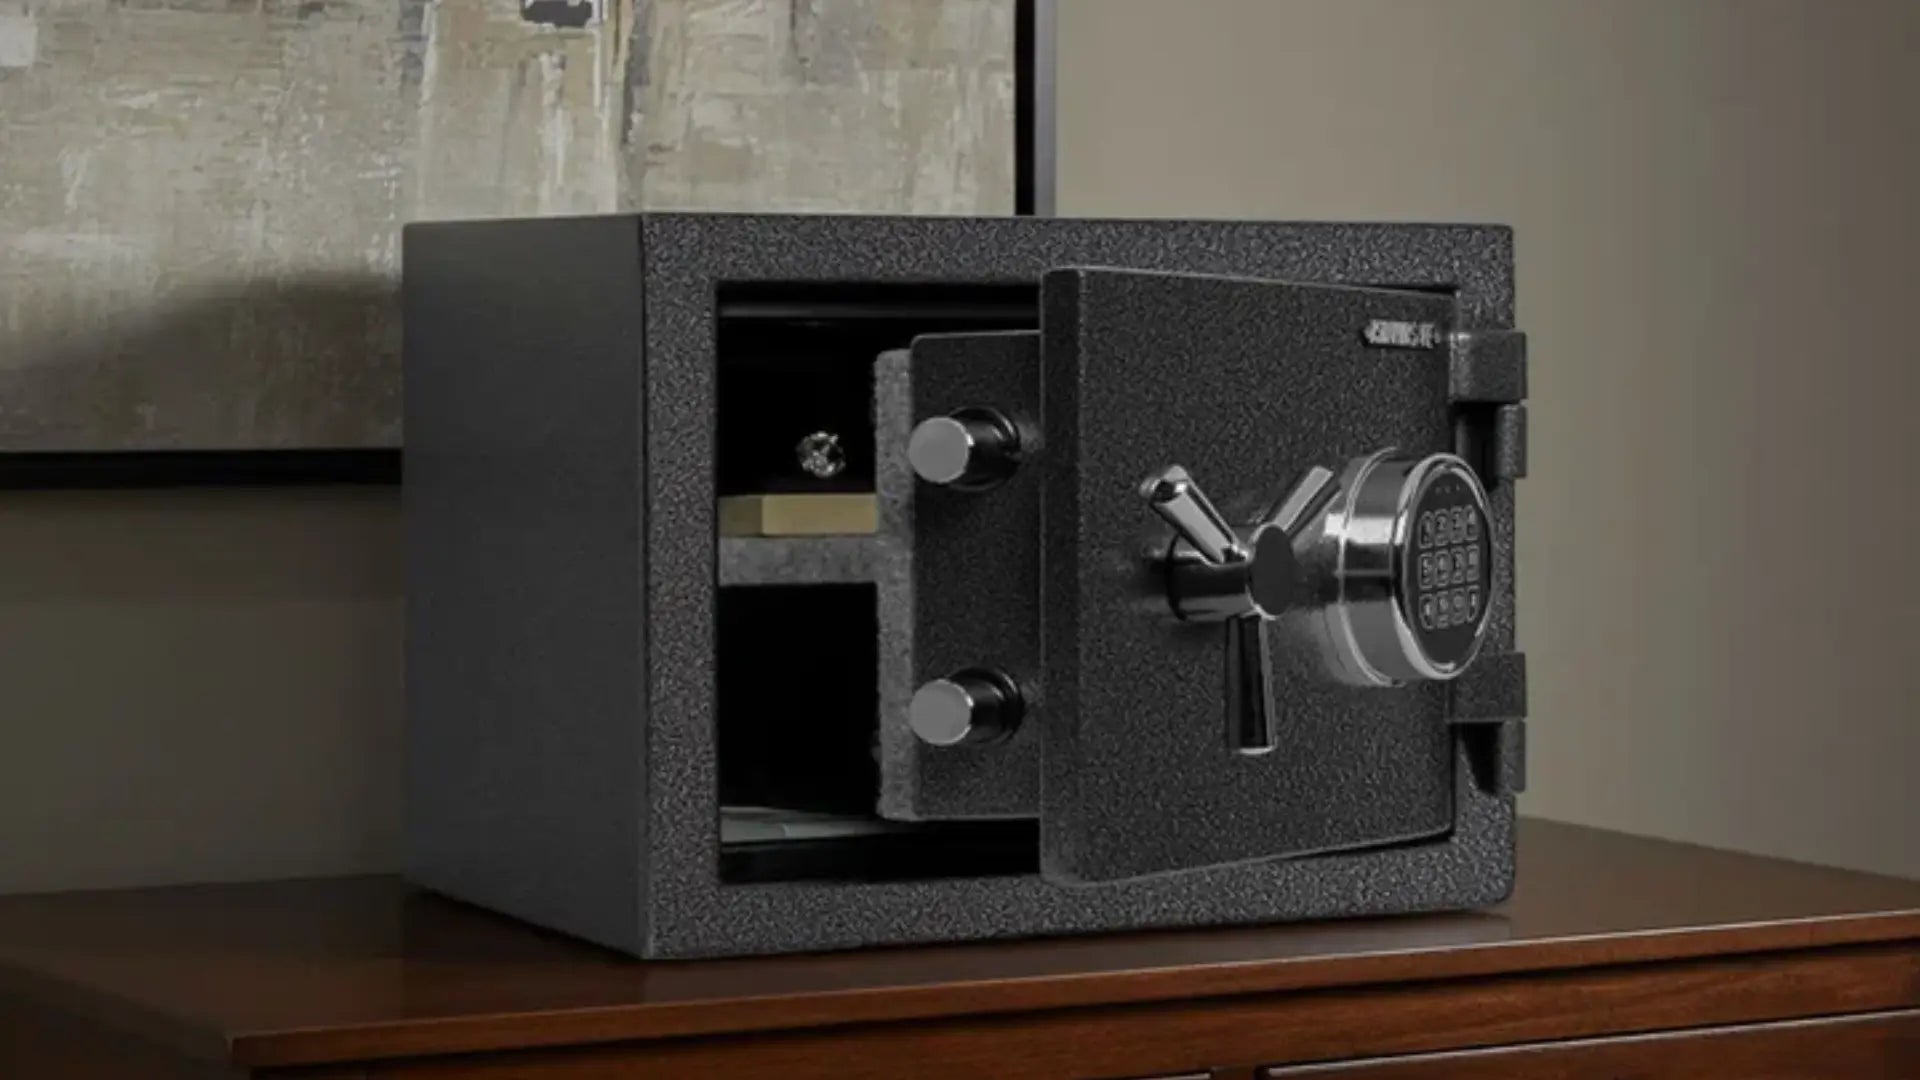
1. Moderno Versatile Home Safe – Compact and perfect for closets or cabinets, includes pre-drilled holes and an emergency battery box.

2. Mini Envelope Deposit Safe – Great for small spaces; easy to mount under desks or inside cabinets.

3. Classico Minimal Medium Cabinet Safe – Offers extra space with flexible mounting options and removable shelves.

📹 Watch the Demo: How to Install Your ISLANDSAFE Safe
Before you start installing, watch this quick video to see a step-by-step installation in action. Learn how to mark, drill, and anchor your safe correctly for long-term security and stability.
Final Thought
You don’t need a contractor to keep your valuables safe. With basic tools and these simple steps, you can install a safe on your own and enjoy the benefits of a secure, personalized setup. Whether it’s a compact option for small spaces or a larger home high-security safe, proper DIY installation ensures lasting protection.
How to Request a Replacement Key
Top 5 Customer Questions Answered About ISLANDSAFE Products
Related Posts

Preparing for Summer Travel: How High-Value Homeowners Protect Assets
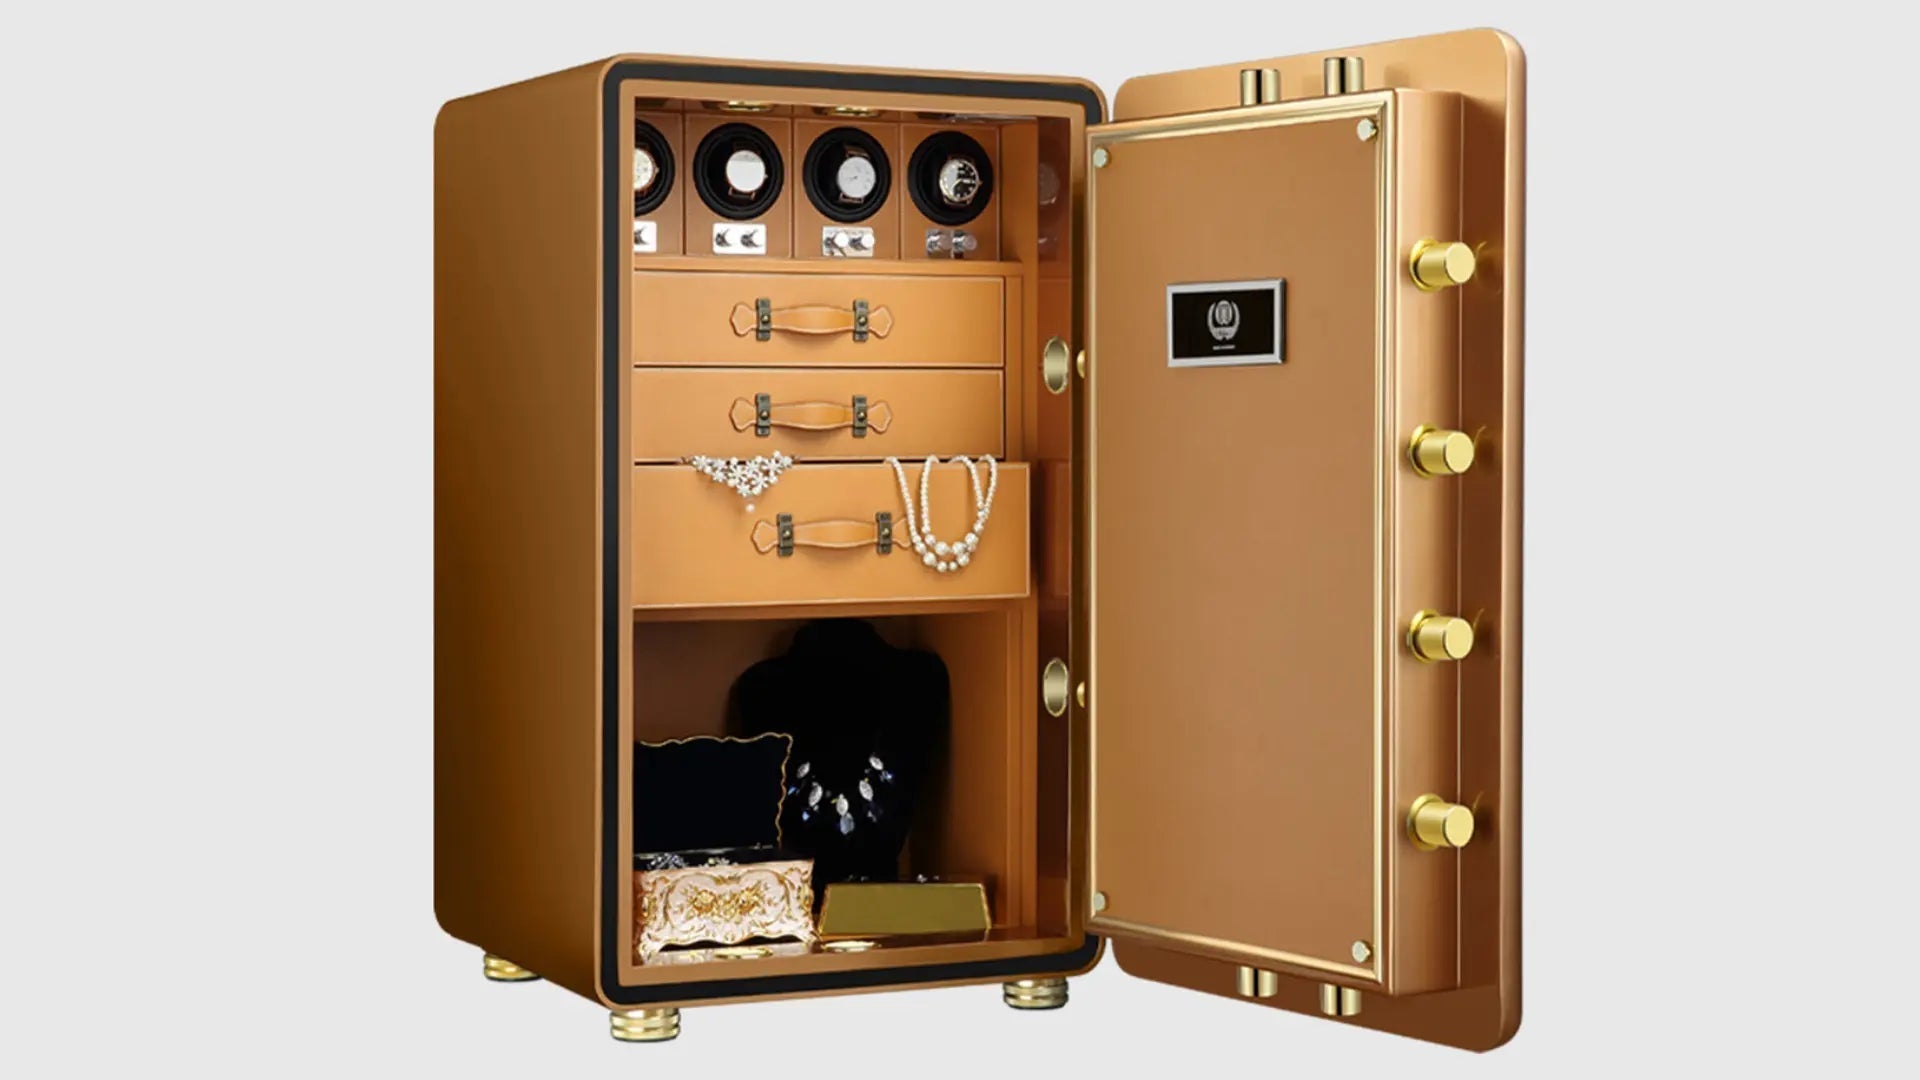
How to Plan Custom Safe Interiors: Watch Winders, Jewelry Drawers, and More

Top 5 Customer Questions Answered About ISLANDSAFE Products
How to Request a Replacement Key
How to Build Your Own Safe